
The only insertion system that is compatible with all standard framed photovoltaic modules. It enables you to install small to very large in-roof solar systems at an unbeatable price/performance ratio.
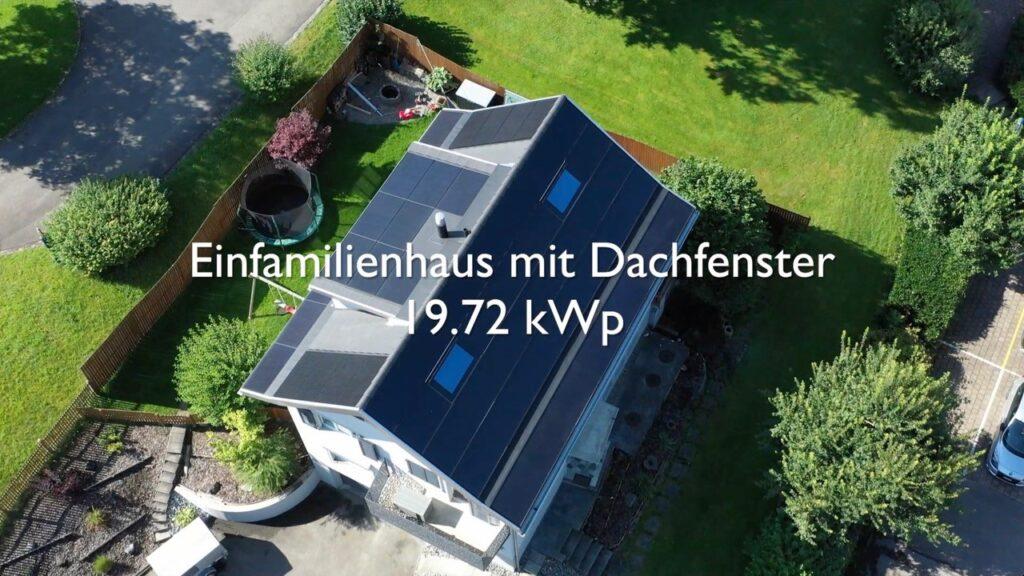
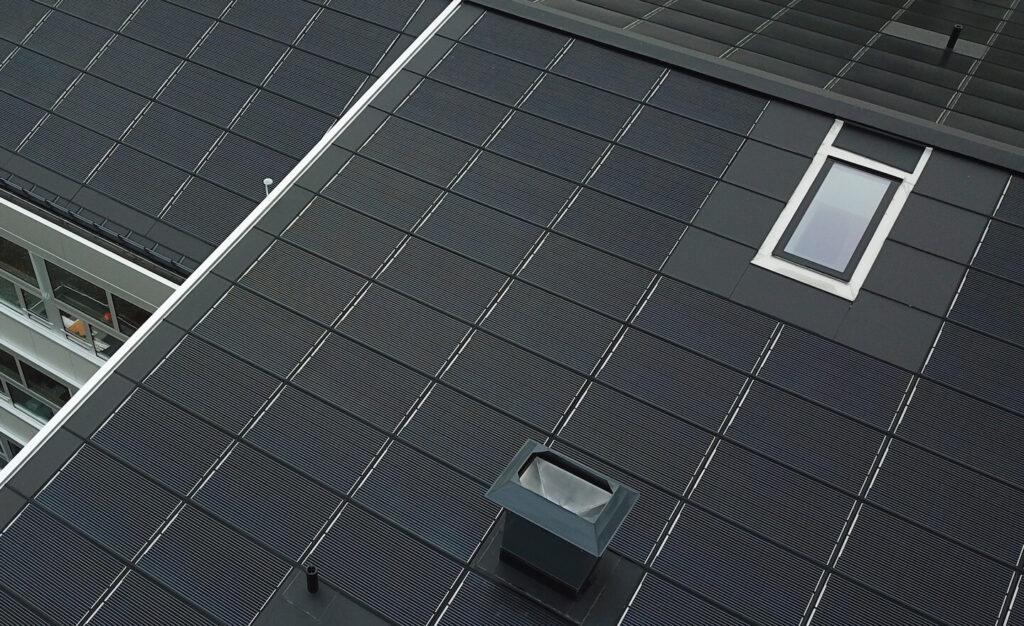
The SolarStand® in-roof system creates an aesthetic and uniform surface that is not only functional, but also blends harmoniously into the overall appearance of your roof. Individual roof features such as possible infill areas, skylights, hatches, chimneys or snow guards can be elegantly integrated.
After simple planning, the complete substructure of your in-roof solar system can be installed without the use of special tools. Including the screws and rivets, the system consists of just 10 - 15 different components.
In addition, the insertion system absorbs all existing roof movements so that these are not transferred to the photovoltaic modules. This gives you a solid basis for reliable and long-term operation of your entire solar installation.
The SolarStand® in-roof system currently offers you the most cost-effective in-roof solution on the market. Thanks to the use of framed standard modules, you benefit from outstanding cost efficiency and flexibility, as you can immediately use the latest module generations with the system. This means that you always achieve the best performance ratio per m2 with framed high-performance modules.
We create an individual project report for each system which, together with the general planning instructions, provides a basis for planning and realising your system. We supply the appropriate mounting rails for each framed solar module directly from our warehouse in Switzerland.
The ST.I.33 in-roof system is manufactured in Switzerland to the strictest quality standards. The aluminium profiles used and all other components come from Switzerland and the nearby EU region. This enables us to guarantee a long-term and reliable solution, which is further supported by the high availability of the components.
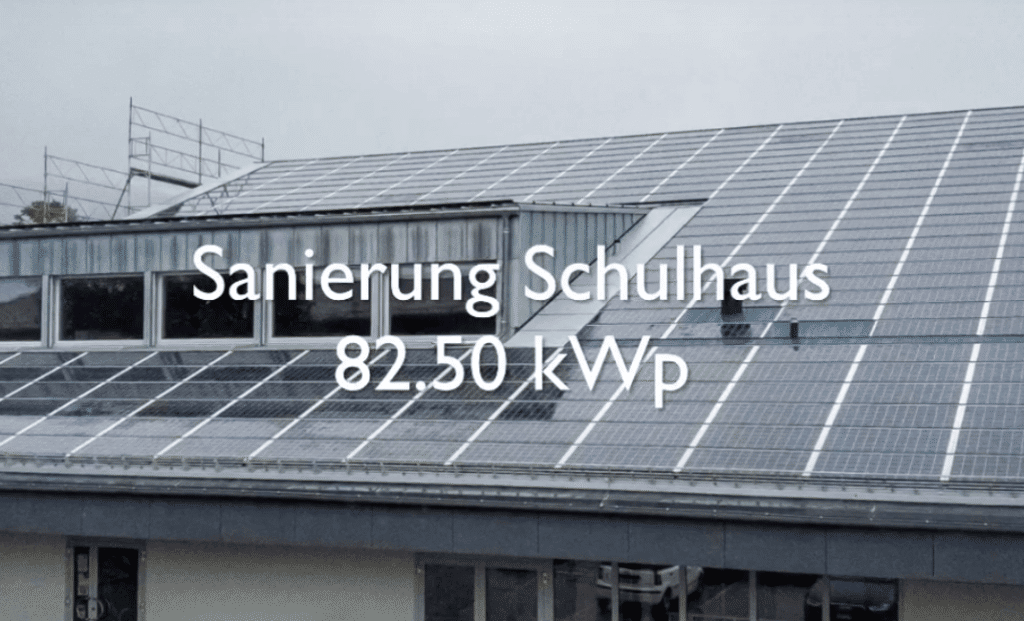
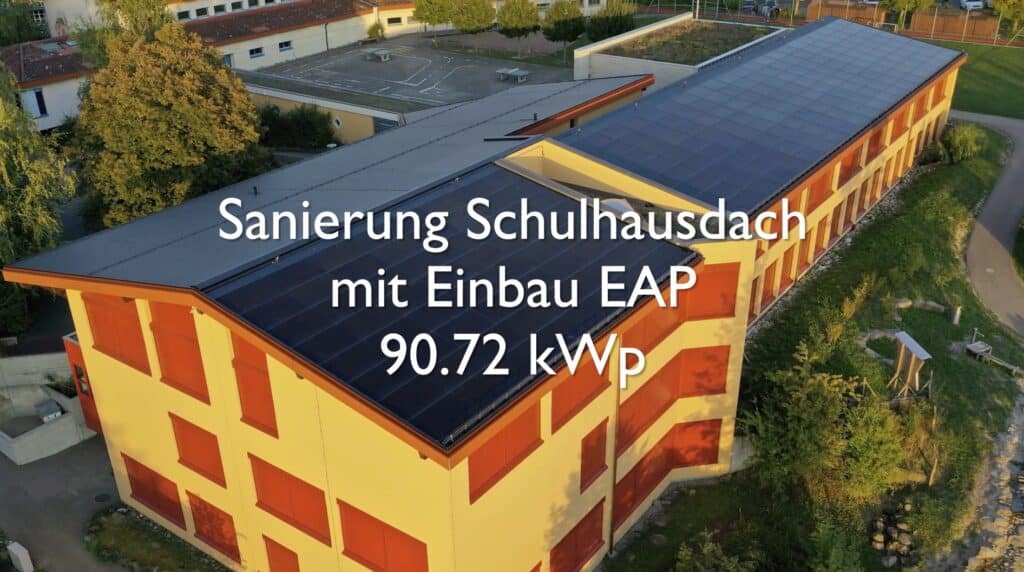
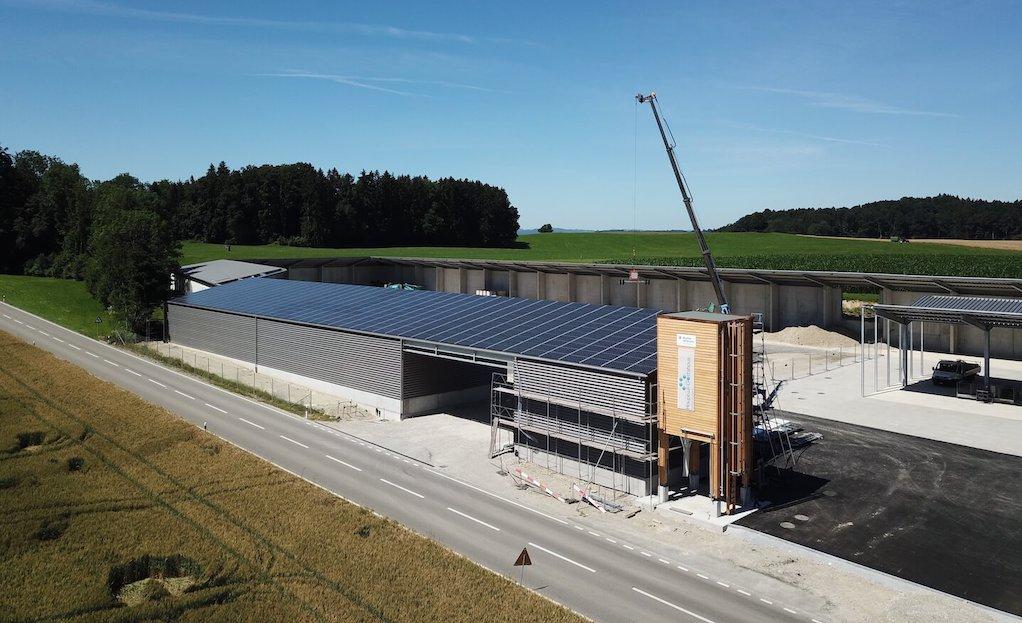
The ST.I.33 in-roof system is particularly flexible to use and enables a customised design to suit your requirements. The insertion system can be adapted to any project size - from detached houses to large industrial buildings (see references).
No special tools are required for installation. The sophisticated insertion system allows you to get the system ready for use in the shortest possible time (see downloads).
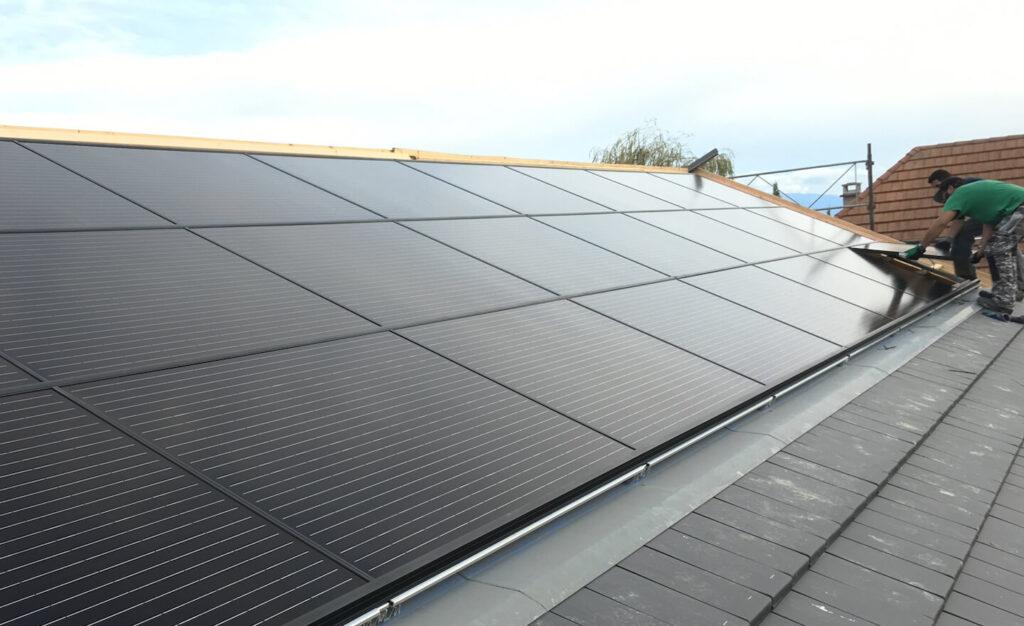
The necessary scaling of the modules with visible retaining hooks, which is common with other systems, is not necessary with this system. Here you can insert the solar modules completely evenly into the construction. The result is an aesthetic and uniform roof.
Do you need support in planning and sizing-up your photovoltaic installation, or are you looking for a PV-installer near you? We offer quick, straightforward advice!
A solar energy system converts light energy from sunlight directly into electrical energy. To this end, solar cells are usually installed on the roofs of buildings. Two different assembly systems can be used to secure solar modules to a building roof: On-roof systems, and in-roof systems. Both systems are also installed as clamping or insertion systems.
With on-roof systems, you install the solar modules onto the existing roof using a mounting rack. Fixing hooks are therefore often visible. On-roof solar energy installations immediately act like a foreign object on the roof. Should works be required on the roof at a later date, you have to first disassemble the substructure, and the solar modules.
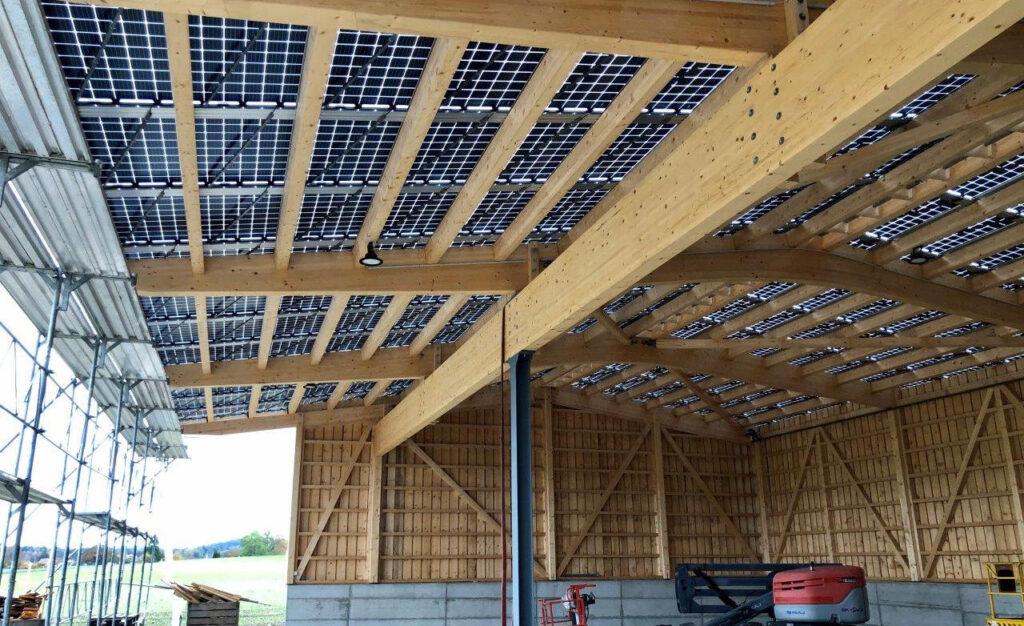
With in-roof systems, on the other hand, the PV system is integrated into the roof cladding. In addition to generating electrical energy, it also takes on the task of keeping your roof watertight and ensuring weather protection. In many cases, this eliminates the need for a roof covering, which naturally saves you money. The SolarStand®system is an insertion system that has the great advantage of keeping all roof movements and forces away from the module.
In-roof solar installation owners like the aesthetic look. This, one the one hand, comes from the fact that the solar installation does not physically rest on the roof like a foreign object, but rather it can be seamlessly integrated.
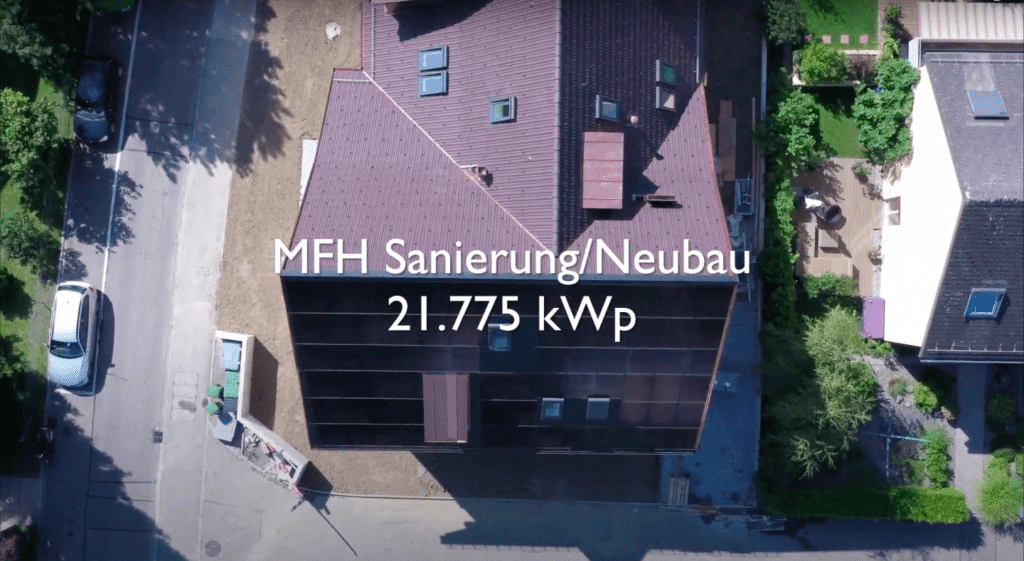
On the other hand, roofing elements, such as dormers, skylights and chimneys can also be aesthetically integrated. With new builds and roofing refurbishments, in-roof installation can be particularly advantageous. Here, you do not have to worry about providing an additional roof covering under the surface of the solar energy system. This type of application guarantees to the deliver with a tiled roof.
A further advantage means that in-roof systems work with installation rails and have excellent stability in terms of snow loads and wind pressure. What’s more, they can absorb all types of roof movement, such as dilatations, without the solar modules being affected. This has a direct positive impact on operational safety and durability.
Our in-roof system can be used in extremely versatile ways. In general, they are suitable for any pitched roof with a pitch between 7° and 60°.
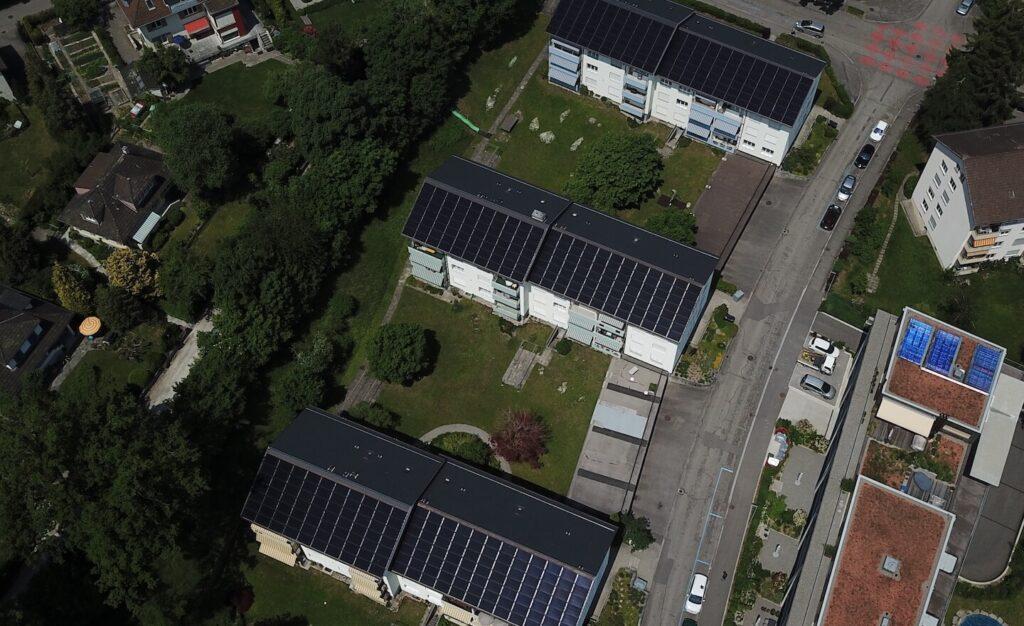
One particular feature of these systems is that they can be easily scaled. No matter how large the roof surface, in-roof photovoltaic systems should be used. From family homes to large buildings, the possibilities are endless.
This versatility, amongst other things, ensures that in-roof systems are suitable both within a residential setting, and for agricultural, industrial and business premises. Whether a family home, or an apartment block, it makes no difference. With versatile and simple assembly, installations on complex roof shapes, roof extensions and structures can be easily implemented.
The many different areas of application and its great versatility make our system the perfect solution for your photovoltaic installation.
Installation and assembly of our SolarStand® in-roof system are particularly simple and uncomplicated. You do not need any special tools. What's more, only 10 different components are used within the entire system. This even includes screws and rivets. An additional advantage that should not be overlooked is the use of an insertion rail, which is installed to suit the respective module type. This insertion rail ensures that the modules can be installed very quickly and at the same time all forces that can be caused by dilatation are kept away from the module.
In terms of tools, you only need a cordless screwdriver with a TX40 attachment and 6 mm Allen, an Allen key with 3 mm and 4 mm, a hand riveter with a 1.5 – 3 mm mandrel, a tape measure and a rule.
Below we describe the six steps required to install a photovoltaic system based on the SolarStand® ST.I.33 in-roof system. We also offer you direct access to three clear installation videos to make installation even easier.
Step 1: Eaves linkage
Firstly, the fitter, or solar installer, affixes the eaves linkage in preparation for the assembly.
Step 2: Vertical drainage
Second, the vertical drainage is installed. Screw the vertical drainage profiles in the subsequent grids of the solar module onto the battens. Clamp mountings are then mounted as fix and sliding points. The fix points are then riveted with two blind rivets (see installation video 1).
Step 3: Installing the cross connector
The cross connector is now installed. Slide the sliding block into the channel provided. At the same time, press the EPDM rubber seal into the profile. Ensure that the horizontal drainage rails rest on the EPDM rubber seals across their entire length (see installation video 2).
Step 4: Horizontal drainage profiles and insertion rails
In the fourth step, initially lay the horizontal drainage rails and insertion rails on the EPDM rubber seals. The rails are customised to the module dimensions. Drainage profiles and insertion rails can now be simply clicked into the cross connector. At the ends of the insertion rails, screw in the end angles which stop the PV modules moving apart over time (see installation video 3).
Step 5: Cables and module field connections
The fifth step concerns the cabling of the photovoltaic installation. Lay the individual solar module cable wires under the in-roof system and use the cable fixers to secure the cables. Ensure that only UV-resistant materials are used for fixing. This step can also follow step 2, before the vertical drainage rails are fixed to the battens. This depends entirely on how you wish to lay your cabling.
Step 6: Insert and connect the solar modules, and then attach the edge connections
In the sixth and final step, the solar modules can be laid into the in-roof system and connected. Install the individual modules into the profile on the upper side, attach at the bottom, and then slide downwards.
To make the cabling easier, place the module for a short time in the respective lower horizontal profile. This makes connecting the cable much easier. Once connected, the solar module can then be slid in as described above.
Finally, the remaining module fields (verge, roof ridge) are attached to the roof by a fitter or solar installer. Depending on the type of installation, joining plates are manufactured and installed by a specialist.
Please note:
Ensure that roof works are only carried out by trained specialists. All building regulations and the provisions of standards, environmental protection and recycling must therefore be observed and complied with.
Additionally, ensure that during each phase of work at least two persons are present so that in the event of an accident, assistance can be quickly provided. Throughout the installation it should be ensured that both an up-to-date version of the assembly instructions and the project report created for the photovoltaic installation are readily available.
Photovoltaic installations are encouraged in Switzerland. Various forms of compensation are therefore available at the federal level (feed-in remuneration, one-off reimbursement for small or large installations, cost financing). Individual cantons and municipalities offer additional subsidies for photovoltaic installations. In the cantons of Thurgau and Waadt, battery storage is also encouraged.
To take full advantage of the possibilities open to you, we suggest that you visit the Pronovo AG website (www.pronovo.ch). Pronovo AG is an accredited certification authority in the renewable energies sector. It is, amongst other things, commissioned by the Swiss Federal Government with the registration of guaranties of origin and the execution of subsidy programmes. The company is part of the Swiss transmission system operator Swissgrid and is regulated by the Bundesamt für Energie /Swiss Federal Office of Energy, BFE).
On Pronovo’s website, you will find lots of information about renewable energy subsidies. Here, you will also find an easy-to-use tariff calculator which you can use to calculate your individual amount of funding in just a few simple steps.
If you are an architect or installer and need support in planning a SolarStand® in-roof photovoltaic system, we will be happy to provide you with advice and assistance. Among other things, we can provide you with a *dwg file containing all the necessary connection details for our SolarStand® ST.I.33 system.
Contact us without obligation. We’ll be happy to advise you.
The SolarStand® ST.I.33 in-roof system, developed, manufactured and distributed in Switzerland, impresses above all with its unbeatable price/performance ratio, flexibility and quality. It is also the only integrated system to have been tested by TÜV, Cologne, and successfully certified in accordance with the ‘Impact water test’ EN 15601:2012 test procedure.
The general buildings regulation examination certificate bears the certification ID P-BWU03-I-16.3.409.
Solar installation and system manufacturers which satisfy the criteria of the roofing association Swisolar, and who are obliged in accordance with the prior Art to offer high-quality products, carry the label SOLARPROFIS®.
Solarteam AG, manufacturer and distributor of the SolarStand® ST.I.33 in-roof system, has been a SOLARPROFI®


Currently no entries.
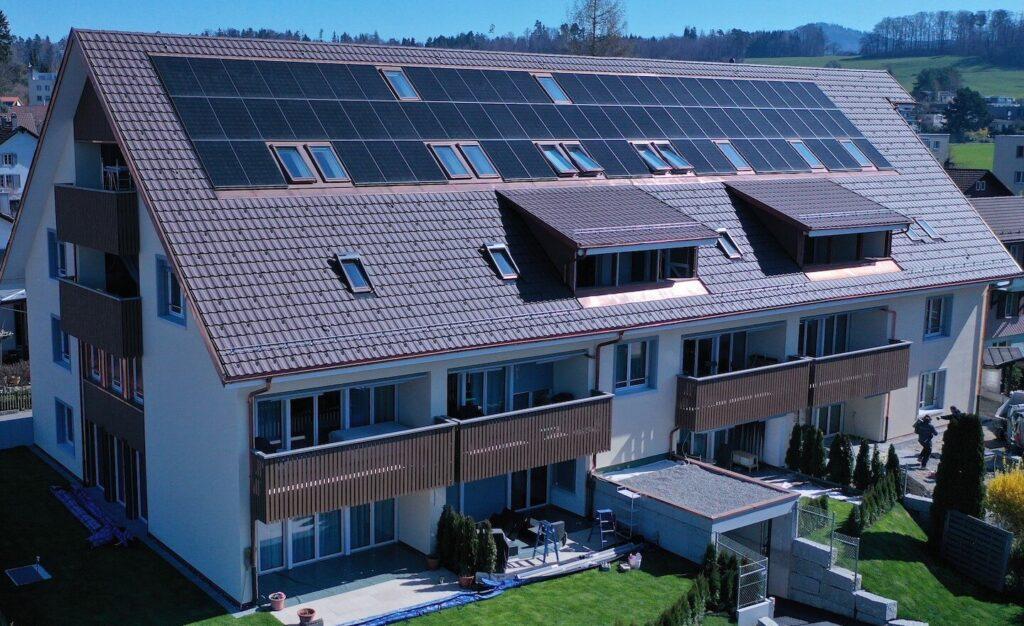
SolarStand® In-roof system ST.I.33 for framed photovoltaic modules - refurbishment of commercial buildings
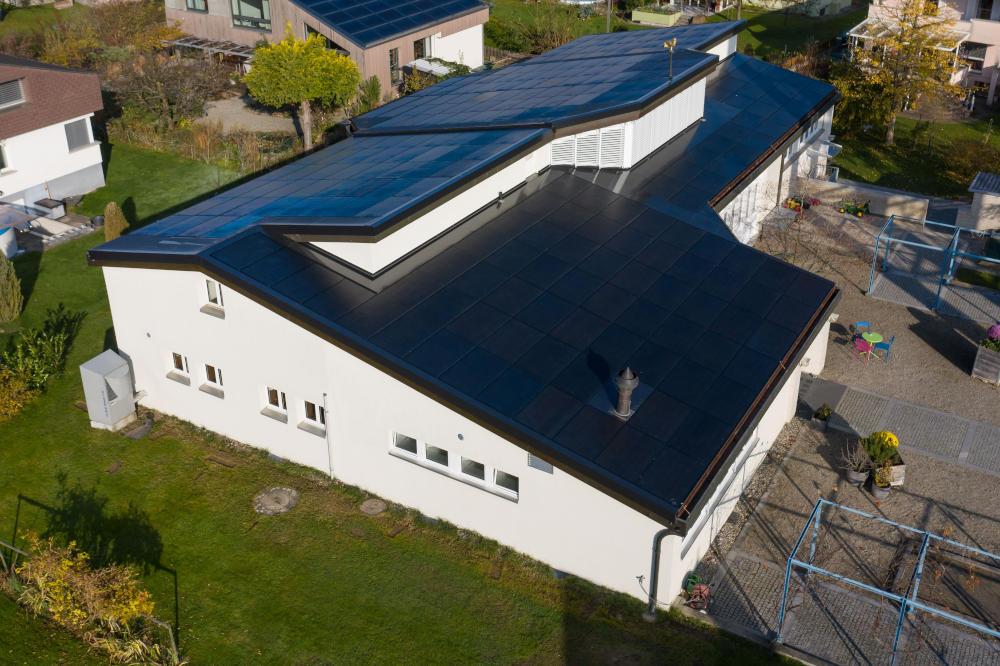
SolarStand® In-roof system ST.I.33 - a complex roof with an optimum aesthetic solution
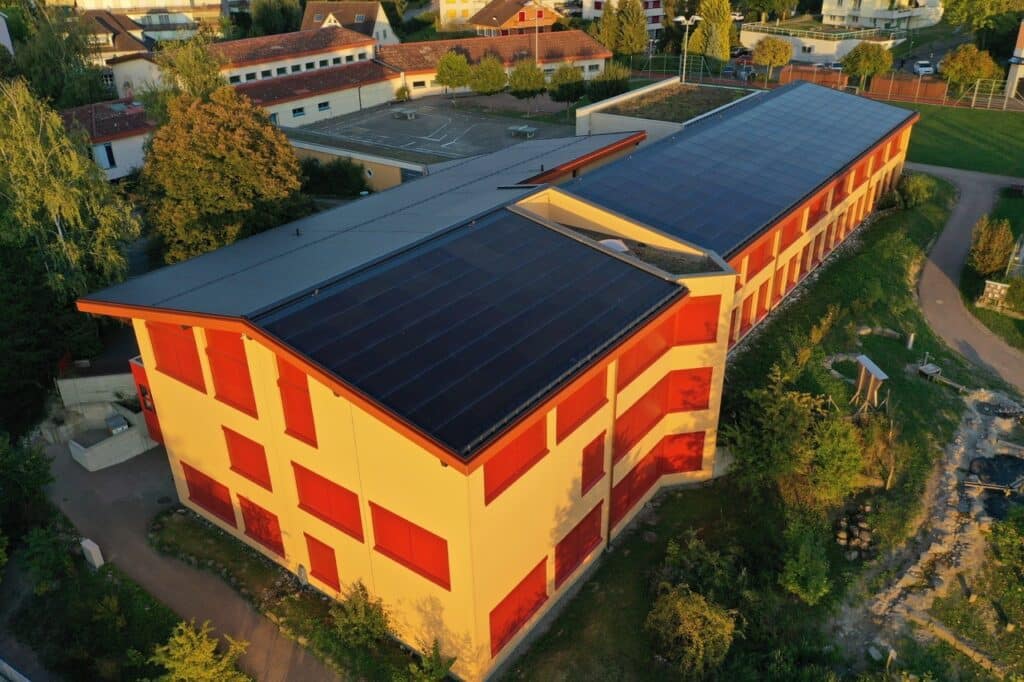
SolarStand® In-roof system ST.I.33 for framed photovoltaic modules using the example of a school building refurbishment
SolarStand® In-roof system ST.I.33 for framed photovoltaic modules using the example of a barn
SolarStand® ST.I.33 in-roof system - complicated roof shape
In-roof system ST.I.33

In-roof system ST.I.33

Solarteam AG has been a leading supplier of photovoltaic substructure systems for more than 15 years and is one of the most innovative companies on the market.
Are you convinced and have already decided in favour of our solution? Request a precise quote now, customised to your project.
Do you still have questions or do you need support with the planning and realisation of your photovoltaic system? We are happy to help you.